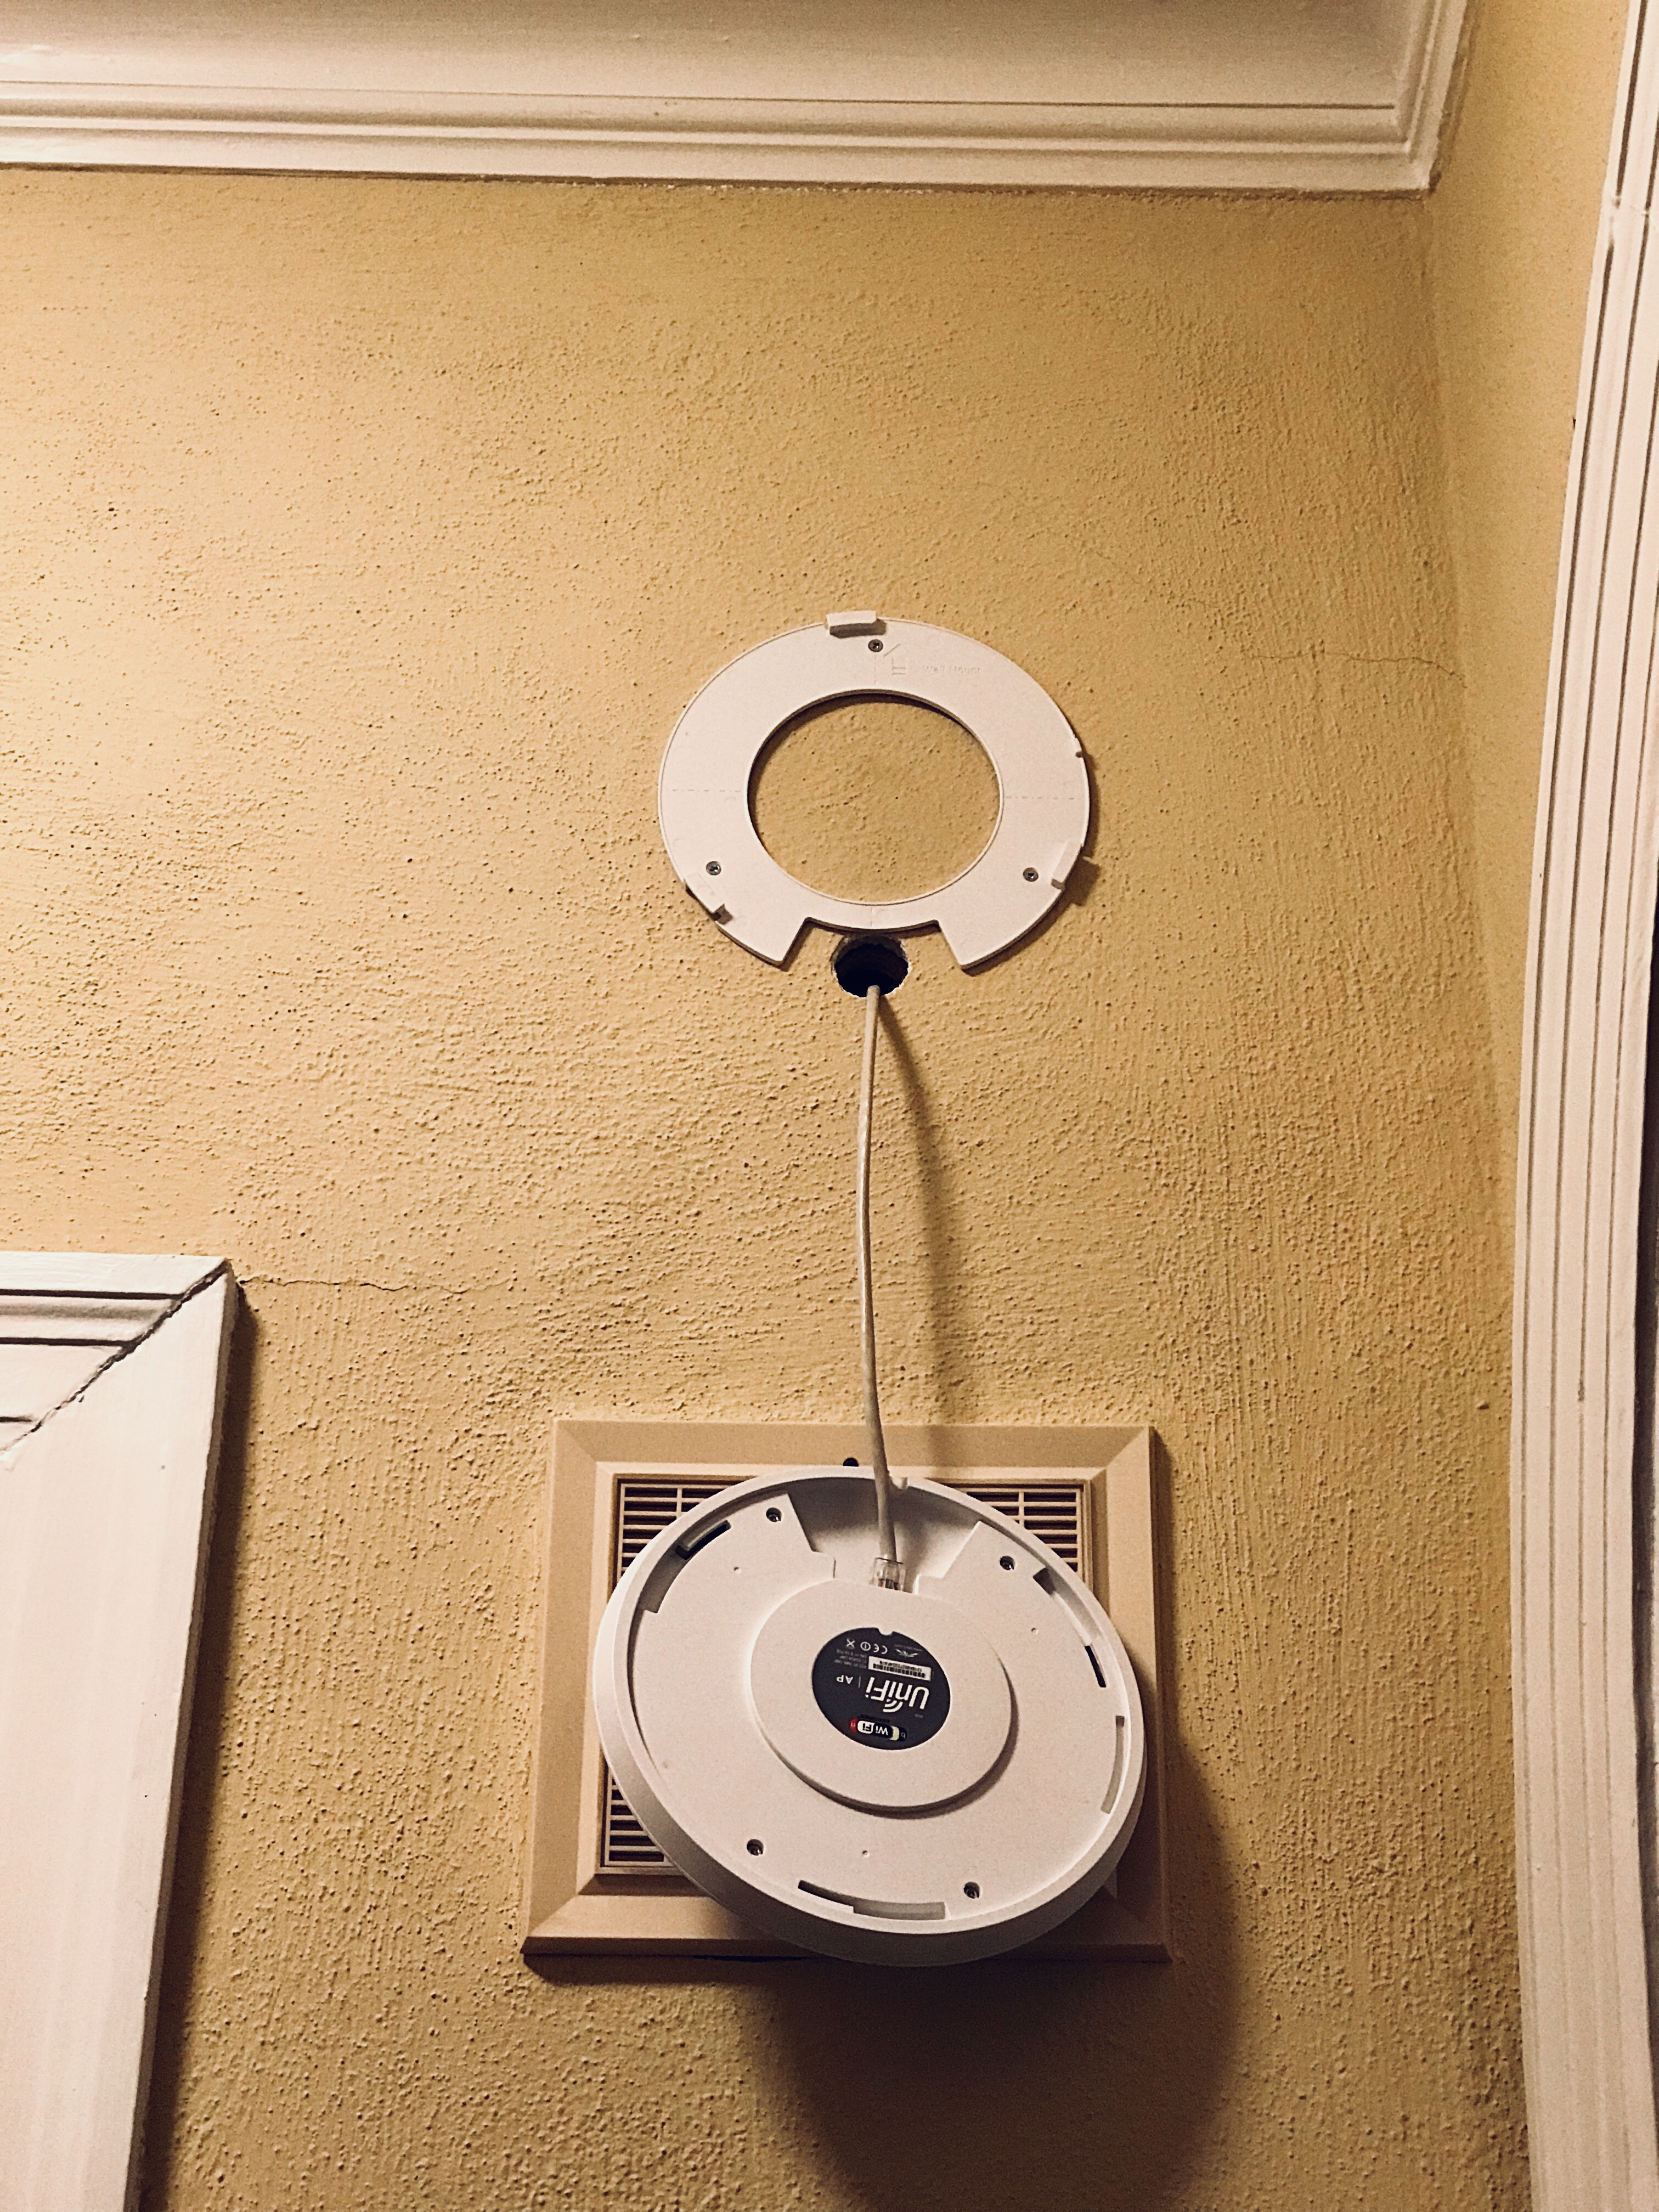
My 2012 wireless access point installation. Used the existing doorbell wiring to pull CAT5e to the switch in the basement. Doorbell works and everything looks tidy.

My 2012 wireless access point installation. Used the existing doorbell wiring to pull CAT5e to the switch in the basement. Doorbell works and everything looks tidy.

Rsync, for those who aren’t familiar, is a file copy tool, which, after the first copy, will only send changes during subsequent updates. This makes it a very efficient tool, especially when used over an internet connection.
Anyway, to enable rsync from server A to server B, it is common to perform the login via key. This means that on Server A you’d generate a SSH keypair for your backup user, then copy the public key that was generated into the ~/.ssh/authorized_keys file for your backup user on Server B.
Because rsync is going to be executed automatically via cron script, it is necessary to create the key file without a password.
/etc/ssh/sshd_configChrootDirectory %h AllowTcpForwarding no PermitTunnel no X11Forwarding no
Note, because of the way chroot works, you’ll need to make sure the chroot directory is owned by ROOT, even if it’s actually the home directory of your backup user.
This gets you part of the way, you should now be able to SSH/SFTP into Server B using your backup user, and when connected, you will be restricted to the location set in ChrootDirectory.
Unfortunately, rsync needs more than this, and in order to copy files it’ll need access to the shell (I’m assuming bash), as well as the rsync application itself, together with whatever libraries are required.
Therefore, it becomes necessary to create a partial chroot image in the backup user’s chroot directory. You could do this the traditional way (e.g. by using something like debootstrap), which will create a mirror of your base operating system files in the chroot jail. However, this generally takes a few hundred megabytes at least, and if all you want is to copy some files, you don’t want to give access to more than you need.
Instead, I opt to create a skeleton chroot jail by hand.
The goal here is to mirror the filesystem of your server inside the chroot jail, so that if a file exists in /foo/bar, then you need to copy it to /home/backup-user/foo/bar, and make sure it’s owned by root.
/bin/bash/home/backup-user/bin//usr/binlddroot@server-b:/home/backup-user# ldd /bin/bash
linux-vdso.so.1 => (0x00007fff52bff000)
libtinfo.so.5 => /lib/x86_64-linux-gnu/libtinfo.so.5 (0x00007f412810a000)
libdl.so.2 => /lib/x86_64-linux-gnu/libdl.so.2 (0x00007f4127f06000)
libc.so.6 => /lib/x86_64-linux-gnu/libc.so.6 (0x00007f4127b79000)
/lib64/ld-linux-x86-64.so.2 (0x00007f4128340000)
Copy the files which have directories into the appropriate locations, e.g./lib/x86_64-linux-gnu/libtinfo.so.5 should go into/home/backup-user/lib/x86_64-linux-gnu/
/usr/bin/rsyncUpdated February 6, 2016!
To use Microsoft’s Remote Desktop to connect to a Lubuntu 14.04 machine, use xrdp. xrdp uses vnc4server to spin up LXDE sessions on your Lubuntu machine.
To begin, install xrdp:
sudo apt-get install xrdp
If you try connecting to your machine, you’re going to get a grey desktop. xrdp is trying to use the command “startx” to start a window manager. On Lubuntu, this will not work. You need xrdp to use the command “lxsession”.
To make this change, you need to edit /home/[your_username]/.xsession:
nano /home/[your_username]/.xsession
…and make it look like this:
#!/bin/sh

/usr/bin/lxsession -s Lubuntu -e LXDE
Save .xsession, reboot your computer, and try connecting from your Remote Desktop client. Voilà!